먼저 CentOS 7 에 Kong을 설치해보자.
Kong은 다양한 OS 및 Docker 설치까지 지원하나 본 글에서는 CentOS 7을 기준으로 한다.
오픈소스 Kong(CentOS) : https://docs.konghq.com/install/centos/?_ga=2.152229369.179130839.1558935991-330604882.1557906613
Open-Source API Management and Microservice Management
Secure, Manage & Extend your APIs or Microservices with plugins for authentication, logging, rate-limiting, transformations and more.
docs.konghq.com
위 페이지에서 CentOS 7용 rpm을 다운 받는다.
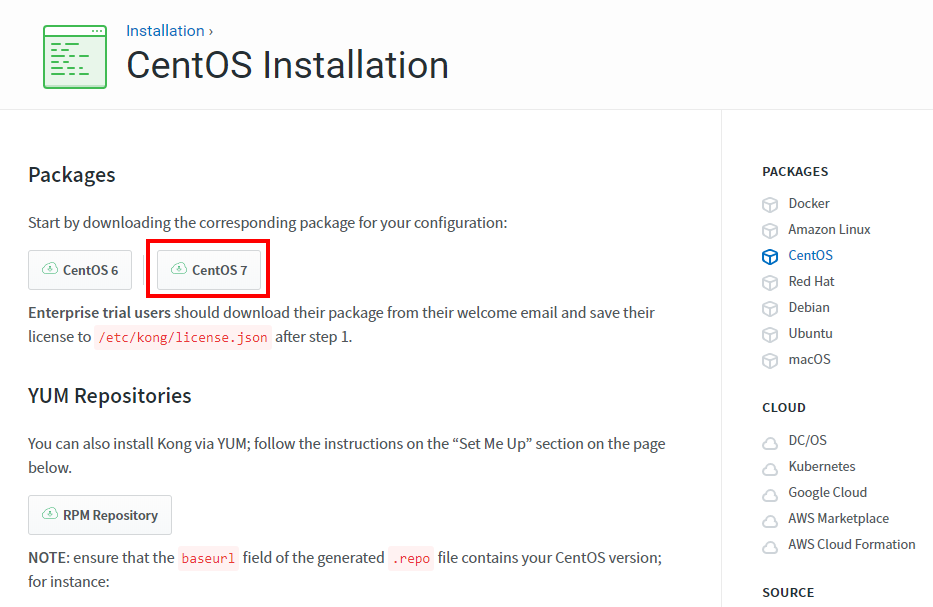
글 작성일(2019.05.28) 기준(kong-1.1.2.el7.noarch.rpm)
1. Kong(rpm) 설치 진행
|
1
2
|
$ sudo yum install epel-release
$ sudo yum install kong-1.1.2.*.noarch.rpm --nogpgcheck
|
cs |
2. 데이터베이스(PostgreSQL) 설치 진행
Kong이 사용하는 데이터베이스는 2가지가 있다. (Cassandra, PostgreSQL)
글 작성일 기준 지원하는 버전은 Cassandra 3.x.x , PostgreSQL 9.5+ 이다.
본 글은 PostgreSQL을 설치하여 운영한다.
PostgreSQL 사이트(https://www.postgresql.org/download/linux/redhat/)에서 PostgreSQL 버전과 OS를 선택 후 진행 할 수 있다.
PostgreSQL 11 , CentOS 7을 선택 한 설치 명령어는 다음과 같다.
postgresql-11-setup 명령어를 통해 데이터베이스 초기화까지 진행한다.
|
1
2
3
4
5
6
|
# yum install https://download.postgresql.org/pub/repos/yum/reporpms/EL-7-x86_64/pgdg-redhat-repo-latest.noarch.rpm
# yum install postgresql11
# yum install postgresql11-server
# /usr/pgsql-11/bin/postgresql-11-setup initdb
# systemctl enable postgresql-11
# systemctl start postgresql-11
|
cs |
3. 데이터베이스 초기화
Kong을 사용하기 위해서는 PostgreSQL에 kong 유저와 kong 데이터베이스를 생성하는 과정이 필요하다.
Kong 설치 페이지에는 설명히 간단히 나와있어 PostgreSQL에 유저와 데이터베이스를 생성하는 방법을 정리한다.
|
1
2
3
4
5
6
7
8
9
10
11
12
|
# su postgres
bash-4.2$ psql
postgres=# \password postgres
새 암호를 입력하세요 : *****
다시 입력해주세요 : *****
postgres=# CREATE USER kong; CREATE DATABASE kong OWNER kong;
postgres=# \password kong
새 암호를 입력하세요 : *****
다시 입력해주세요 : *****
postgres=# quit
bash-4.2$ exit
exit
|
cs |
MySQL의 root 역할인 postgres의 비밀번호를 설정한 후 유저와 데이터베이스를 생성한다.
그 후 kong.conf 파일을 통해 마이그레이션을 진행한다.
|
1
2
3
4
5
6
7
8
9
10
11
12
13
|
# cd /etc/kong
# mv kong.conf.default kong.conf
# vim kong.conf
====kong.conf====
database = postgres
pg_host = 127.0.0.1
pg_port = 5432
pg_timeout = 5000
pg_user = kong
pg_password = password
pg_database = kong
=================
# kong migrations bootstrap ./kong.conf
|
cs |
4. Kong 시작
앞서 설정한 kong.conf 파일을 통해 Kong을 시작한다.
|
1
|
# kong start ./kong.conf
|
cs |
5. 실행 확인
|
1
|
# curl -i http://localhost:8001/
|
cs |
이상으로 Kong 설치 과정을 마무리 한다.
이후에는 Konga 설치와 외부 API, 내부 API를 연결하는 과정을 다룰 예정이다.
2019/05/28 - [Study/Install] - CentOS 7에 Kong & Konga 설치하기 #2
'Study > Install' 카테고리의 다른 글
| [유용한 프로그램] CheatSheet for Mac (1) | 2021.01.27 |
|---|---|
| CentOS 7에 Kong & Konga 설치하기 #2 (0) | 2019.05.28 |

